An overview of closet terms
If you’re new to closet installation, you might need a primer on a few commonly used terms you’ll probably come across as you’re working on your project.
Building your own storage systems can be rewarding and cost-effective, but you’ll probably have questions throughout the process. You don’t have to go it alone. Follow our expert advice to guide you through every step, from taking the first measurements to cutting the top shelves.
If you’re new to closet installation, you might need a primer on a few commonly used terms you’ll probably come across as you’re working on your project.
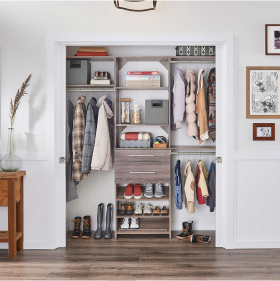
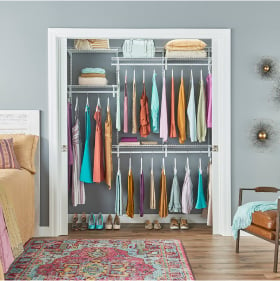
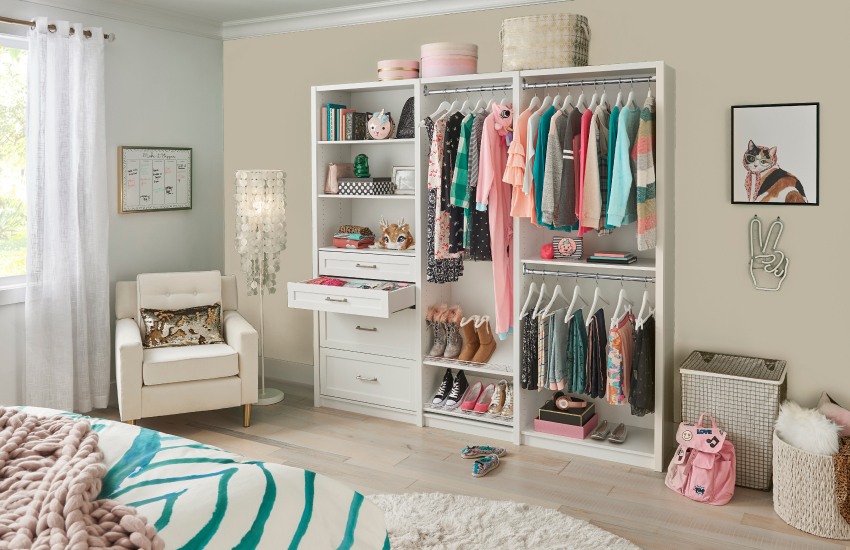
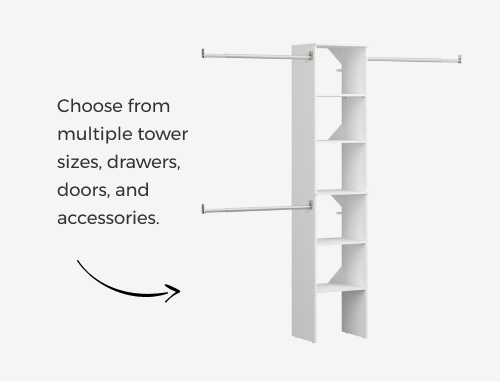
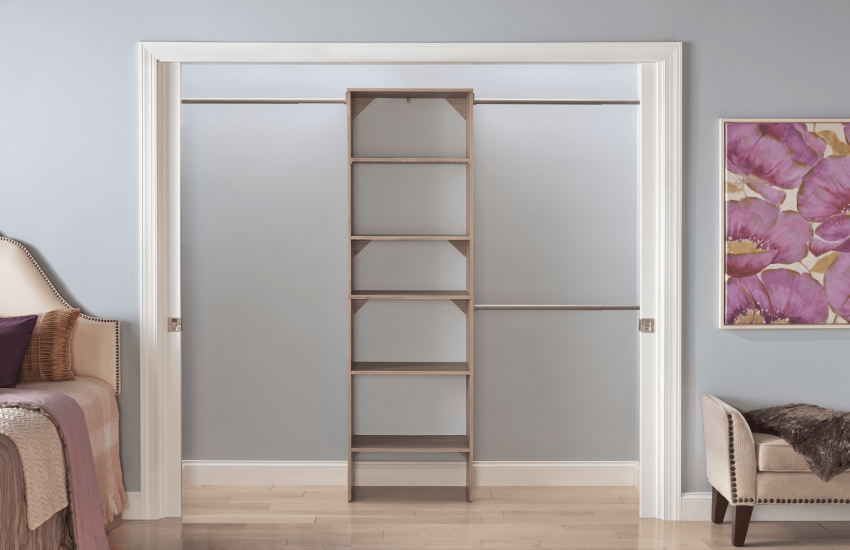
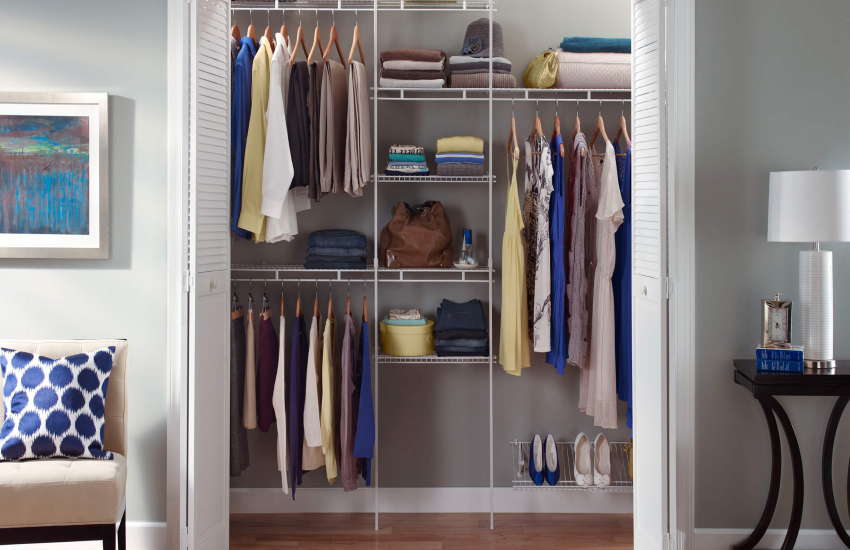
As you look into your options, you’ll discover that you can solve your organizing dilemmas with shelves, rods and accessories to suit your needs or choose a closet system based around a tower.
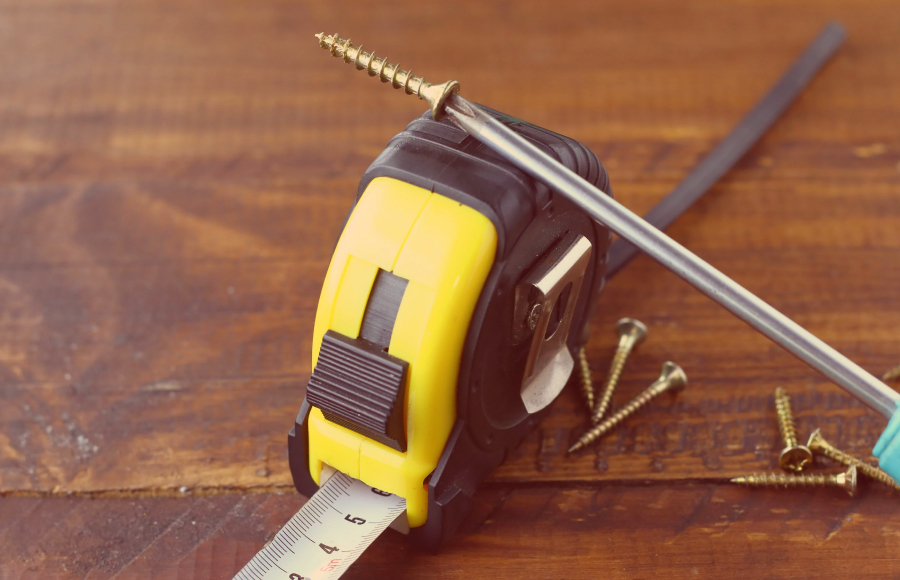
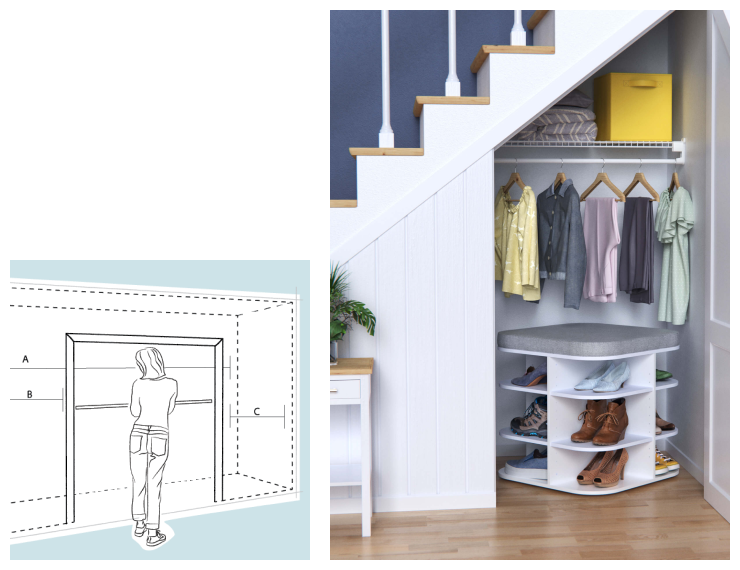
Use a 25-foot measuring tape to carefully take measurements of each surface in your closet or storage area. Make note of any windows, equipment that’s mounted to a wall or other potential impediments. A sloped ceiling or oddly shaped wall will also affect what kind of system you can install.
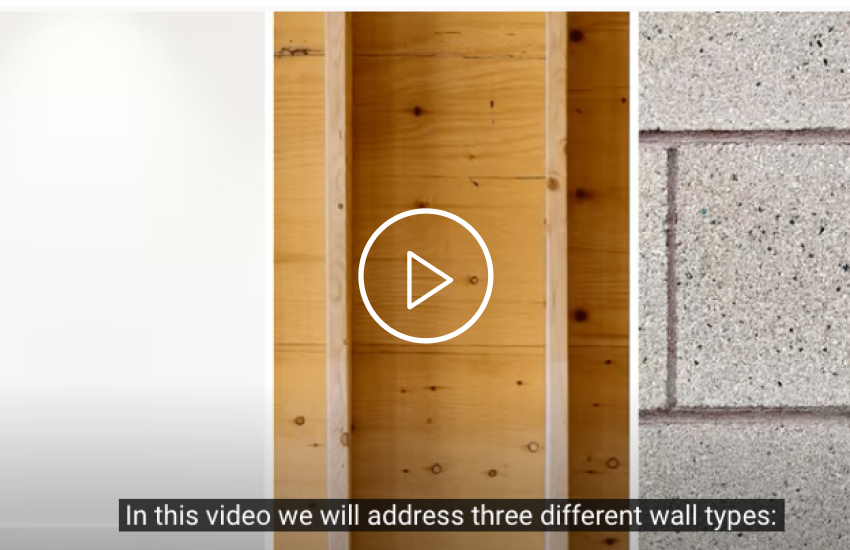
The type of fasteners you will need for your system depends on the material of your walls: drywall, studs or solid wood or concrete/masonry.
Use toggle bolts for drywall, 12-inch x 2-inch pan head screws, so called for their shape — flat on top and rounded on the sides — for studs and 12-inch x 2-inch pan head screws with anchors for concrete/masonry.
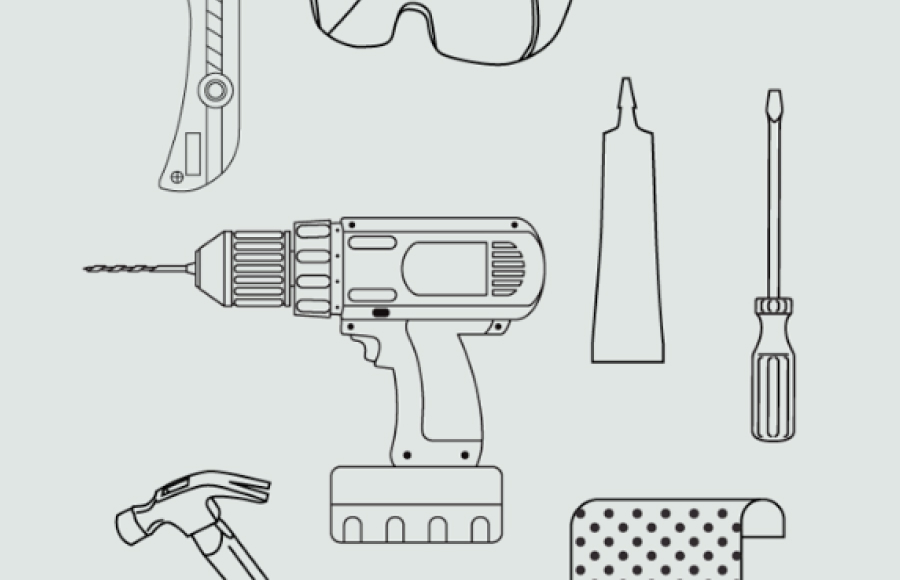
If your closet already has a plank-and-pole system (you know, those old closet standards that have a single rod topped with a long shelf) in it, you’ll have to take it down, preferably before you even take measurements. To start, gather up a few tools:
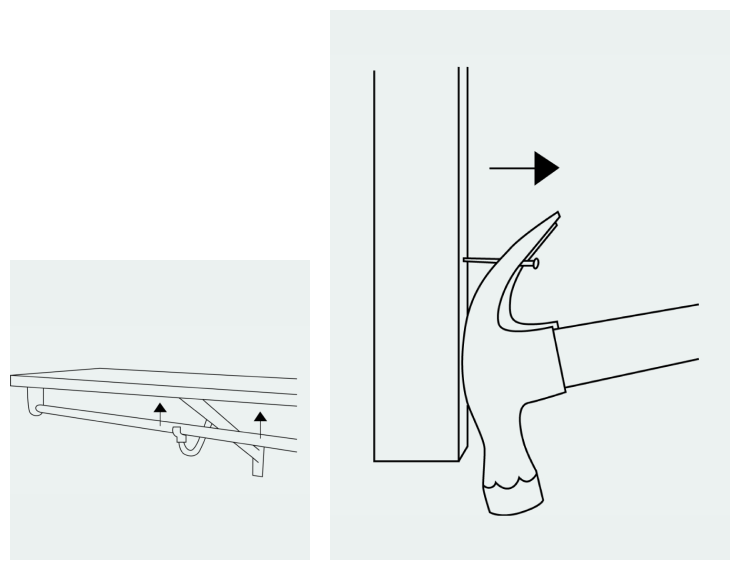
Now you’ll be able to uninstall the plank using your power drill to remove any screws that were used to fasten the plank to the wall. If nails were used, pry them out of the wall with the back of a hammer. The box cutter or knife can help you detach the plank from the wall, if necessary.
Begin demolition with the support brackets or poles. You can pull out pins with pliers, and a drill will work for screws.
Next, extract the anchors from the wall by leveraging the support brackets.
Lift the shelf so that it comes out of the wall clips. Like you did with the support brackets, use pliers or a drill to loosen the shelves’ fasteners from the wall.
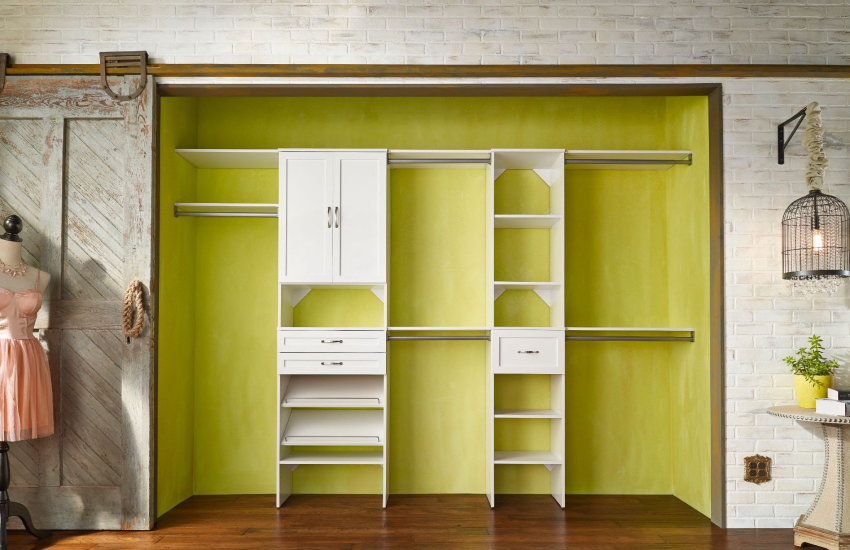
Always anchor towers to the wall.
Units can only be installed in drywall, concrete or stud wall.
Laminate panels cannot be painted.
You can switch a right-hand configured corner unit to a left-hand one by flipping the shelves so that the cam heads are facing upward. Cam heads or locking screws are two-part screws that are used to connect one section of a structure with another. Many ClosetMaid wood storage systems come with cam heads.
Cutting the top shelves of a wood closet system can be challenging, but we've got your quick guide.
Once you have your tape measure, painter’s tape and a hand saw or circular saw, you can tackle this project. Measure the width of your space, accounting for the width of the tower.
Mark the shelf where you will cut it and place a piece of thick painter’s tape along the edge to prevent cracking or chipping.
A fine-toothed saw works best, whether it’s a circular or hand saw. Cut one side first and then turn the shelf over to make the final cut.

Have installation questions or need assistance?
Contact our customer service team at 800-874-0008 or help@ames.com.