An organized home brings calm to chaos, order to messiness and peace to everyone who lives there.
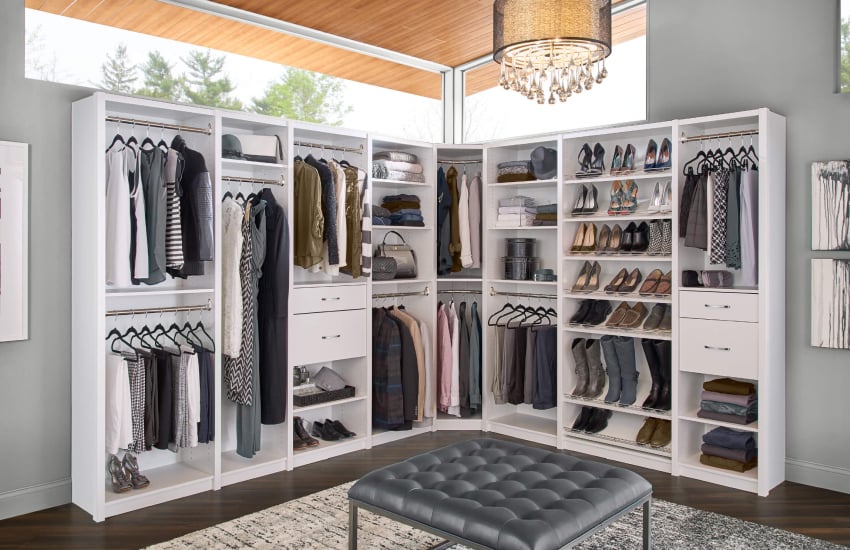
A well-designed closet makes life easier!
When you’re not searching for a missing shoe at the last minute, when your favorite shirt is easy to see (and wrinkle-free because it’s not in a crowded closet), life is good.
Getting to this place of organizational bliss takes some thoughtful planning, but we’ll guide you every step of the way as you configure your home’s storage needs — from the bedroom closets to the kitchen pantry to the garage.
Define your needs
Take stock of what you really need before choosing the best storage system for you and your space.
We don’t blame you if you’re tempted to jump right into choosing your new storage system, but you should start by looking at what your current system is lacking.
Ask yourself why you want to replace it. Is it simply old? Maybe you’re best off putting in a newer version of the same system. It’ll be easier to reinstall than to start from scratch, especially if you can use the same layout as you currently have.
Need to store items that your existing organization system can’t accommodate? Look for one that has a variety of options like built-in drawers, shelves and doors.
Converting a nursery room closet into an age-appropriate bedroom closet for your toddler? You might want a system that can adjust as your kid grows into his teen years. You’ll save yourself money, time and stress.
If you’re moving into a new home that doesn’t already have a system, make a list of your absolute musts, wants and wishes. Don’t limit your initial ideas. You might find affordable ways to grant your wildest dreams!
Garage and kitchen storage
Permanently declutter your garage and kitchen with the help of thoughtfully planned storage.
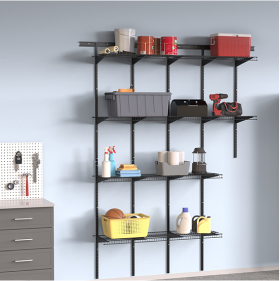
Bedroom closets aren’t the only areas of your home that might need specialized storage systems. Your garage and your kitchen probably could use organizational help. After all, both rooms are notorious for clutter (junk drawer, anyone?) and both usually are expected to contain everything from small tools and utensils to appliances and miscellaneous items you don’t know where else to keep.
Similarly, a kitchen pantry has specific needs. Ventilated wire shelving keeps items fresher, but you’ll want to choose shelving that won’t cause your smaller jars to tip over. Do you have large appliances, like a blender and a standing mixer, that your minimal kitchen counter space can’t hold? Choose a system that has adjustable shelves so your pantry can house those helpful electronics.
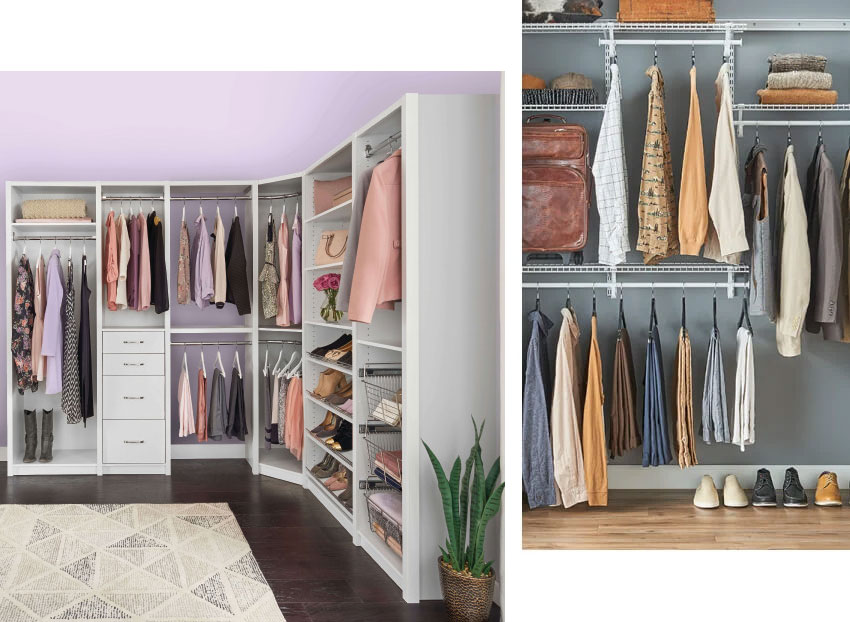
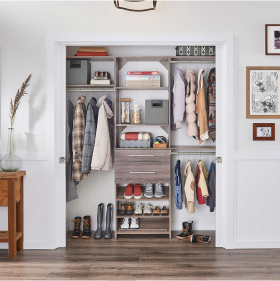
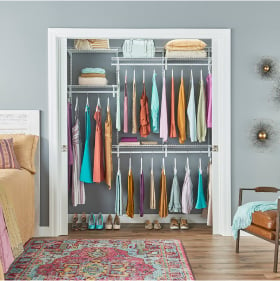
Remember to consider your budget when selecting a closet system. If you have the funds, a wood closet is within reach. A wire system is a more economical solution.
Now that you have a solid idea of your must-haves and your nice-to-haves, it’s time to determine how much money you can invest in your new storage system. Remember to consider not only the price of the materials, but also any required demolition and repairs, including repainting, and installation assistance, if you opt to go that route.
If you’re planning on organizing more than one space in your home, calculate the cost of each one in the same way. You might find it more financially sound and convenient to do them all at once, or it might make more sense for you to tackle just one or two areas at a time. You know how your family can handle living in a construction zone better than anyone.
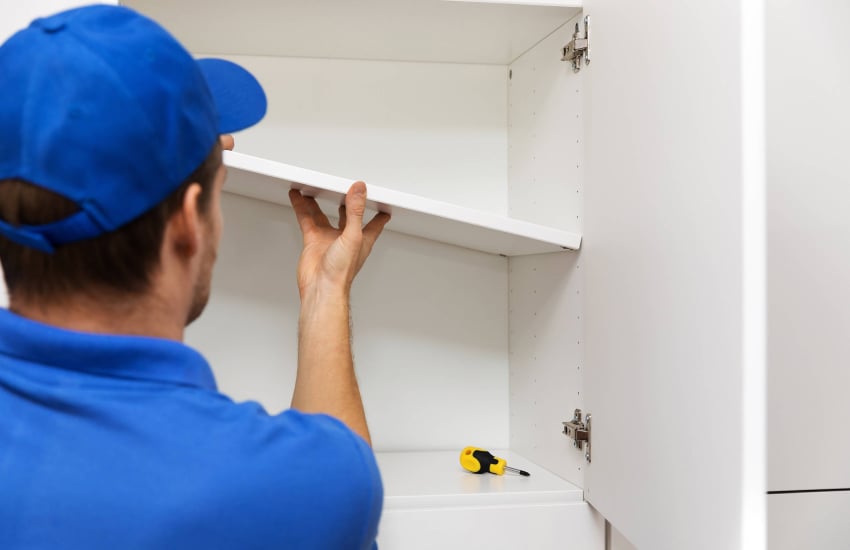
Hire an installer
Not a DIYer? Hire a professional contractor to install your storage systems.
If you’re hiring a contractor to install your storage systems, request two quotes — one for your top priority area only and the other for all of your spaces. That way, you can see if you would save money on labor by having everything built in the same timeframe. You can also inquire about payment plans or other ways to manage expenses.
You might be able to reduce your out-of-pocket costs by doing some of the work yourself, even if you hire someone to take care of the actual installation. Do you have handy friends? See if they would be willing to help you.
Save money
Other money-saving tips:
Tools
Borrow tools if you don’t already have them.
Reuse
See if a neighbor or friend has leftover paint you can use in your closet or pantry, rather than buying a gallon.
Buy
Purchase your storage system at your local hardware or big box store to save on shipping fees. Bonus: You can start right away (although eagerly watching for the delivery truck to arrive is always fun!).
Measure your space
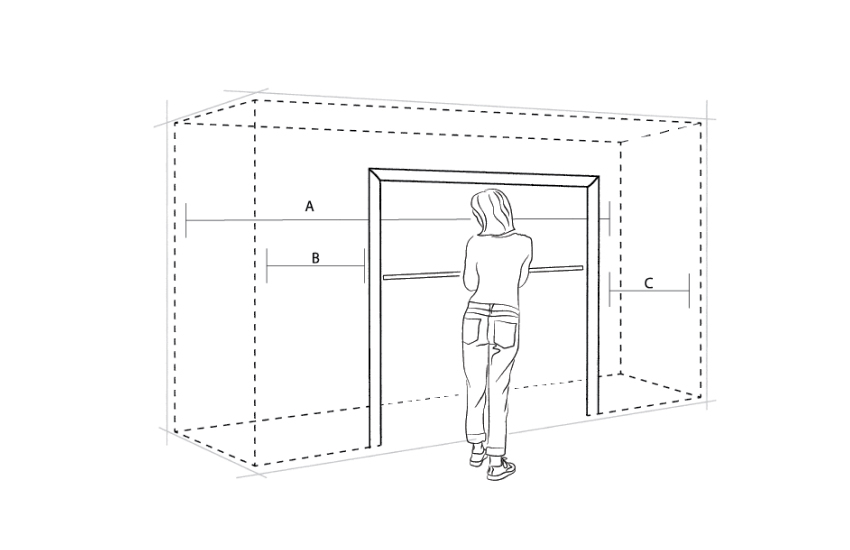
Whether you’re installing your closet yourself or hiring someone else, measure every section of your closet carefully to ensure proper placement and parts.
As the saying goes, measure twice, cut once. But measuring your space before you decide on your storage system is just as important. You might love your home’s quirky design features, but the feeling may not be mutual from certain storage systems. Some of them won’t fit in closets with angled ceilings, narrow walls or other architectural details that will interfere with proper installation.
You’ll want to take note of the depth, the heights (if the ceiling slopes) and the lengths of the walls. Also be aware of any oddities, like windows or equipment that is mounted to the wall. These measurements and items may affect which storage system you can install and where you place the components, such as the shelves and the towers (we’re not talking cell phone or bell towers). These towers are used as the main structure in several of ClosetMaid’s wood storage systems and can consist of shelves alone or they can contain drawers or doors. Note that your reach-in closet should have a depth of at least 30 inches, and the majority of towers have heights between 82 and 83 inches. If you’re planning on adding doors to a tower, figure out if they’ll open fully. You might encounter an issue if the front closet wall is lower than the tower.
Think about the placement of your tower along the back wall, too. The hang rod’s maximum length is 48 inches, and the shortest length is 30 inches, although it can be cut down to size.
Accurate measurements will help you place your order and are also necessary for using an online design tool to guide you to your perfect closet or pantry. Not an amateur architect or interior designer? Not to worry! ClosetMaid has free and low-fee online tools that will create schematics for your storage space, along with a list of items to purchase.
Choose DIY or professional installation
Whether you’ll be hands-on with your storage system installation or bring in a professional depends on several factors:
1. Your timeline. If you have only a small closet or garage system to build and you’re skilled, you can probably complete the project in a day or less. If you have several larger projects, however, and can only work on them during the weekends, a contractor or handyman might be the answer to get your systems installed in a short amount of time (and your life back to normal!).
2. Your budget. Doing it yourself will save you on labor costs, which can add up quickly, especially if you have more than a few systems to install.
3. Your comfort level with construction projects. If you’re handy or your friend or family member is, skip the contractor and build the system yourself. ClosetMaid has many options, including self-installation kits, that make DIY easier. Unsure of your abilities? Do your research to find a qualified and affordable installer near you, or check our website for recommended contractors in your area.
4. The storage product you choose. Some ClosetMaid products, such as MasterSuite and ExpressShelf, are only available through Authorized Dealers. This means that these systems can’t be installed by the customer, only by professionals.
Weigh all the possibilities before making a final decision. You might discover that you can do it yourself or, alternatively, that it would be worth the expense to have it done for you.
Remove your old system
Watch this video for a quick primer on removing a “plank and pole” closet system.
Even if you’ve opted to hire a pro to install your new storage system, you’ll still need to prepare the space. This might entail moving what the storage area holds now, as well as removing the existing system.
If you’re putting in a new closet or pantry, take advantage of the opportunity to purge. Sort through all the contents, tossing out or donating, when appropriate, anything that is outdated or you no longer use (hint: you’ll likely never wear that old Halloween costume again). Place whatever you’re keeping in a safe and convenient area while your new system is being put in.
Follow our step-by-step guide to removing an existing plank-and-pole storage system.
Patch up any areas where the old system was mounted to the wall. Often putty or spackle will do the trick.
Optimize and enjoy your new storage
After your new storage system has been installed, no matter if you or a hired hand did it, it’s time to set it up for its best use.
The zone method of organization works well in any space. For clothes closets, arrange your belongings by type of clothing and, then if desired, color. Store seasonal items on a top shelf but keep your most-worn shoes up front for easy access. There’s nothing worse than trying to rush out the door but you can’t find your favorite footwear! Have your last-minute accessories, like sunglasses and hats, on an eye-level shelf. Get more tips on closet zones.
Your pantry is another area that can become disorganized quickly, especially if you have more than one cook in the house or kids who love to snack. A shelf-by-shelf zone method makes the pantry a more functional space. Items you use on a regular basis, such as canned goods and baking supplies, should be easy to reach for almost anyone in the family. Store heavy and bulky items at a slightly lower level to avoid potential injuries that would be caused by stretching up or reaching down to pick up the items. Maybe put the sweets on a high shelf if your kid’s sweet tooth can’t resist a bag of chocolate chips or a box of cookies.
Lastly, the garage also benefits from a zone organization system. Hang up gardening tools and recreational equipment like bikes and kayaks. Create a woodworking and tool station along a wall, incorporating both storage and a work surface. Rarely used items (perhaps a trendy piece of exercise equipment) and holiday decorations can go on higher, sturdy shelves.
When you’ve arranged your new storage system to its fullest potential, it’ll work for you from day one and continue to keep your home neat and tidy — and more harmonious — for years to come.